
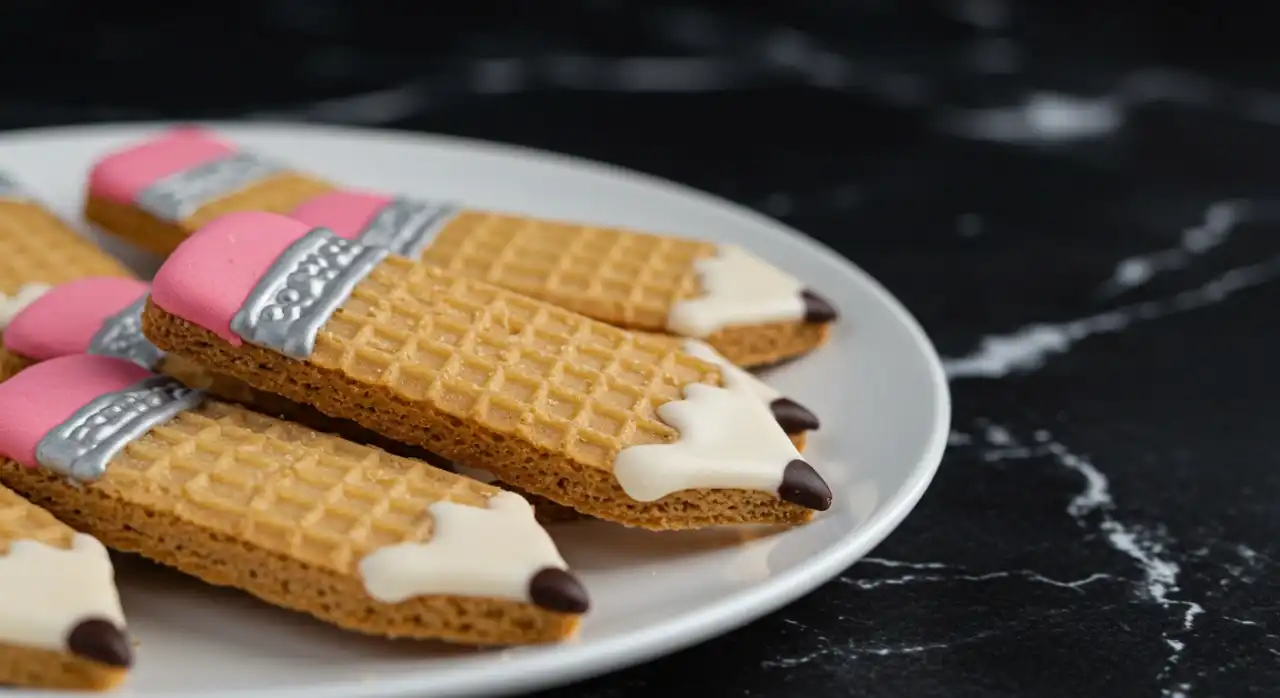
Back-to-school season is the perfect time to get creative in the kitchen, and these Wafer Pencil Cookies are the kind of fun, no-bake treat that brings big smiles with little effort. Whether you’re packing a first day of school snack or surprising your kids with something special in their lunchbox, these colorful, edible pencil cookies are a playful way to celebrate the start of a new school year.
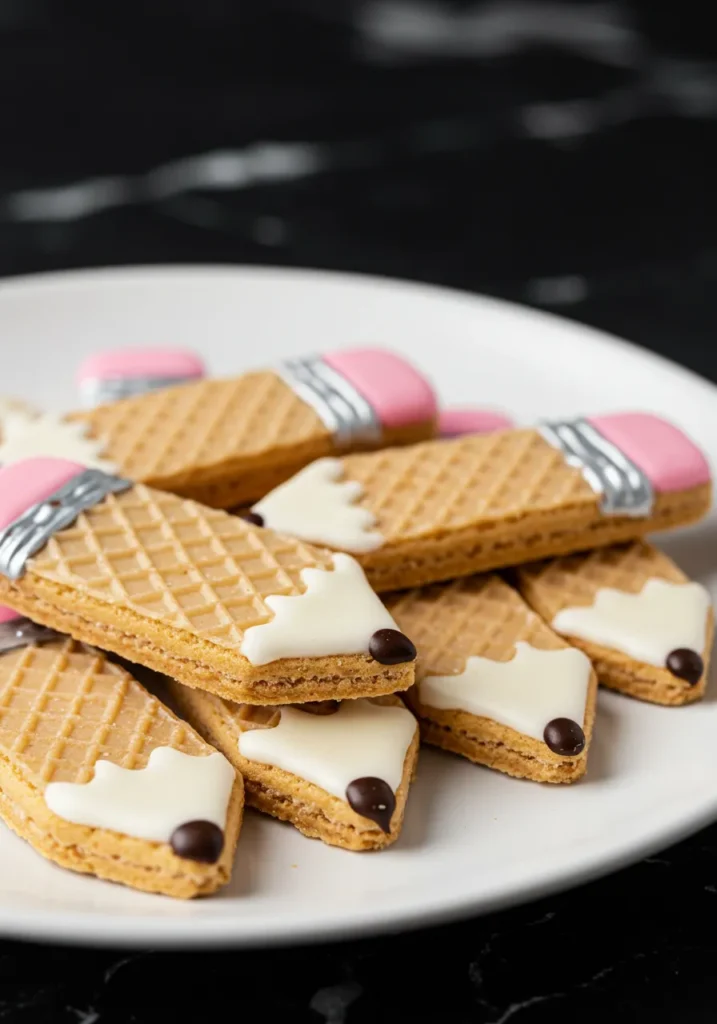
Made with vanilla wafer sticks, candy melts, and mini chocolate chips, these pencil-shaped cookies are simple enough for kids to help make and cute enough to go viral in your Pinterest snack ideas board. They check every box for a great back to school treat—easy, mess-free, and totally customizable.
You don’t need to bake anything or use fancy tools. If you can dip a cookie and stick on a chocolate chip, you can pull these off in under 20 minutes. These cookies are more than just adorable; they’re also a brilliant kids snack and a favorite among teachers and parents alike. From classroom parties to creative school lunch treats, these sweet “pencils” add personality to any snack table.
If you’re looking for fun food ideas for kids that are simple, fast, and make everyone say “wow,” Wafer Pencil Cookies might just become your new go-to. They also make a perfect project for rainy afternoons or birthday parties. Best of all? No oven required.
Table of Contents
Key Benefits
These Wafer Pencil Cookies aren’t just cute—they’re practical, too. Whether you’re a busy parent, a teacher prepping a classroom snack, or simply looking for a quick dessert to share, this no-bake treat delivers on all fronts. Here’s why they’re such a hit:
1. Quick and Easy
You won’t need an oven, mixer, or measuring cups. Just dip, decorate, and done. It’s an easy cookie craft that takes 15–20 minutes from start to finish. Even younger kids can help, making this a fun and simple back to school snack idea.
2. Perfect for Lunchboxes
These slim, neat little pencils fit easily into containers, making them an ideal back to school lunchbox idea. Pack one with your child’s sandwich and fruit, and you’ve got an instant surprise school lunch treat that’s sure to brighten their day.
3. Great for Parties and Classrooms
Need a first day of school snack for a group? These cookies are easy to make in bulk. They stay neat and hold up well, which makes them perfect for serving at school events, birthday parties, or playdates.
4. Loved by Kids and Adults
These creative school snacks aren’t just fun to look at—they taste great, too. The combination of crispy wafers, sweet candy melts, and a mini chocolate chip tip makes for a satisfying crunch and a bite-sized dessert kids will ask for again.
5. Customizable and Allergy-Friendly
Use gluten-free wafers or dairy-free chocolate chips if needed. You can even personalize the “erasers” with different candy colors or add sprinkles for flair. It’s a flexible kids snack idea that works for a range of diets.
In short, Wafer Pencil Cookies are more than a novelty—they’re a smart, versatile, and stress-free treat for busy days and happy occasions.
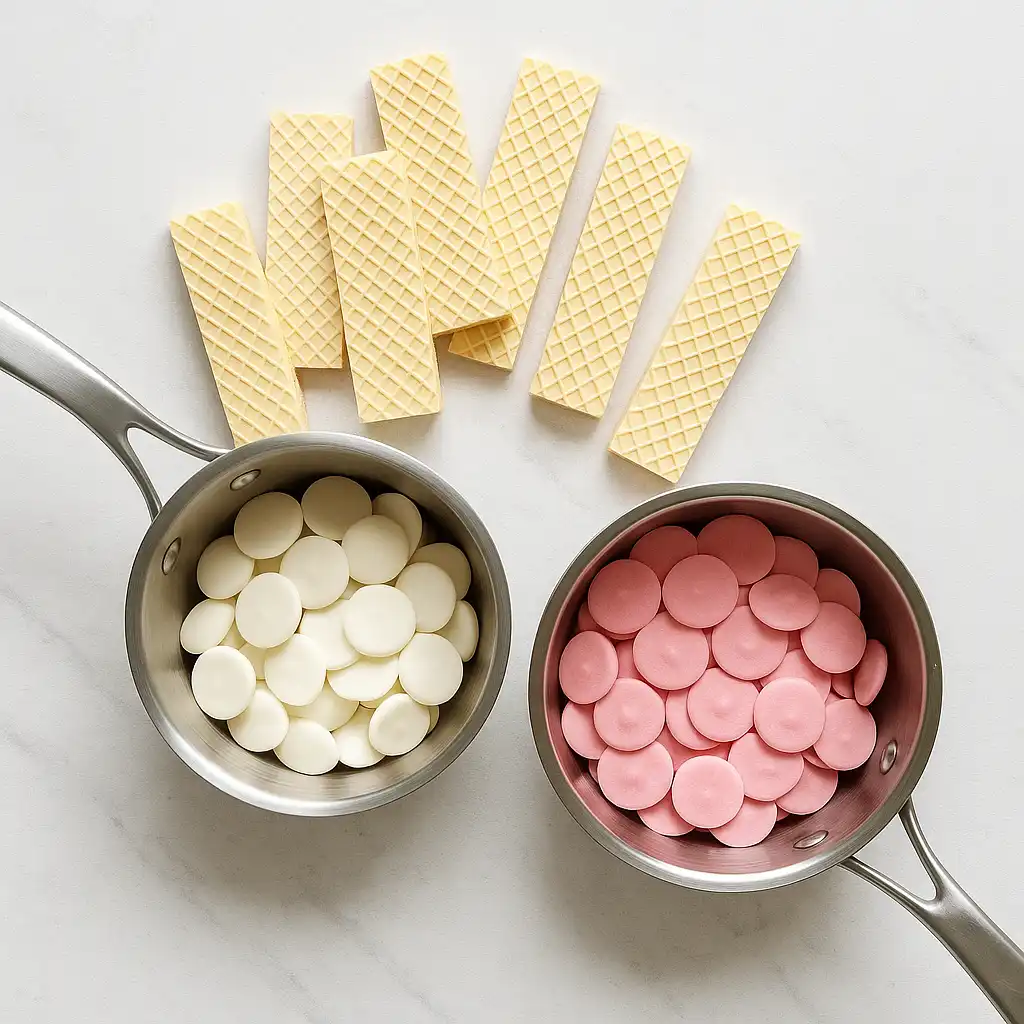
Wafer Pencil Cookies – Ingredients
You only need a few simple things to make these fun Wafer Pencil Cookies:
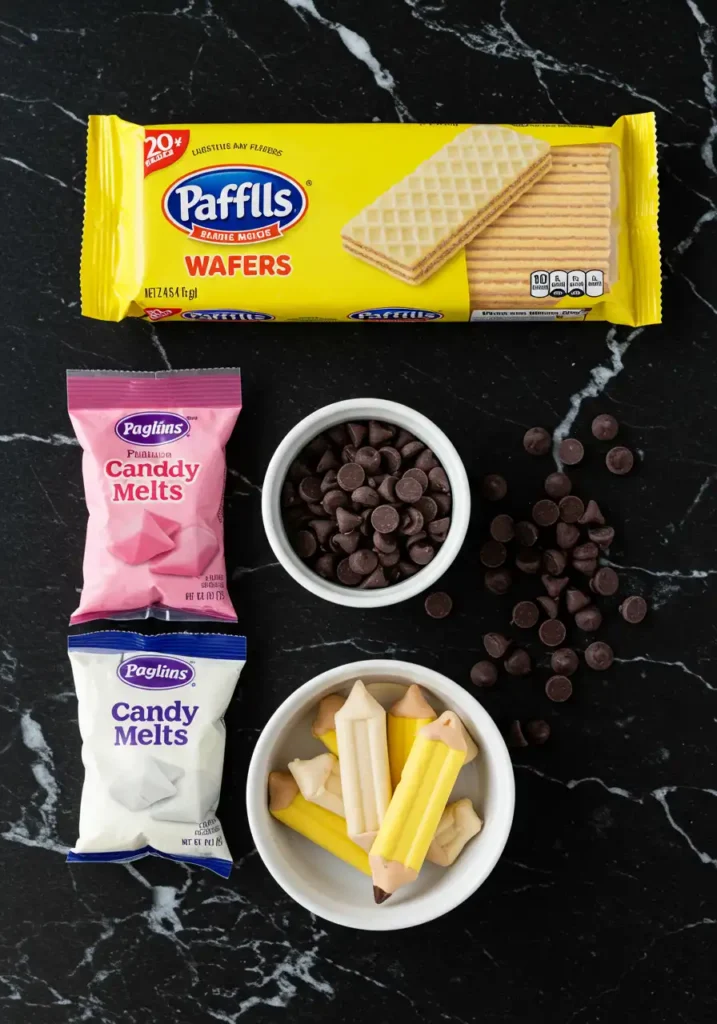
- Vanilla wafer cookies (long and thin)
- Pink candy melts or pink Starburst (for the eraser)
- Mini chocolate chips (for the pencil tip)
- Yellow candy melts (for the pencil color)
- White candy melts (to cover the middle of the cookie)
- Brown candy melts (for the wood part of the pencil)
Optional:
- Sprinkles or edible markers for fun designs
That’s it! These are easy ingredients for a quick, fun, and tasty back to school treat.
How Do You Make Wafer Cookie Pencils?
Making these Wafer Pencil Cookies is easy and fun. Just follow these simple steps:
Step 1: Prep the cookies
Take your vanilla wafer cookies and line them up on a tray or plate.
Step 2: Make the pencil tip
Use a small knife to cut one end of each wafer into a point, like a pencil tip.
Dip just the tip into brown candy melts or add a mini chocolate chip to make it look like the pencil lead.
Step 3: Add the yellow color
Melt your yellow candy melts.
Dip the cookie (starting from the pencil tip) about ¾ of the way in. Let it dry on parchment paper.
Step 4: Add the eraser
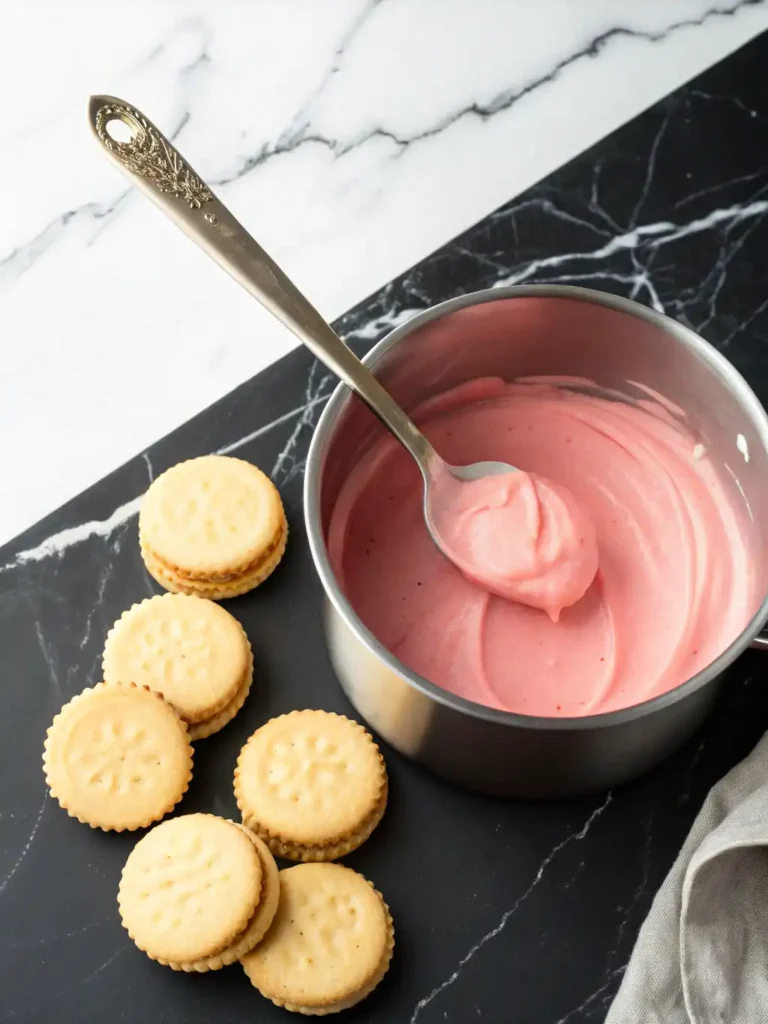
Melt your pink candy melts or soften a pink Starburst.
Press it gently on the flat end of the cookie to look like an eraser.
Step 5: Add white section (optional)
If you want, melt white candy melts and add a strip in the center of the pencil to look like the wood casing.
Step 6: Let them set
Let all the dipped cookies cool and harden completely. You can speed this up by placing them in the fridge for 10 minutes.
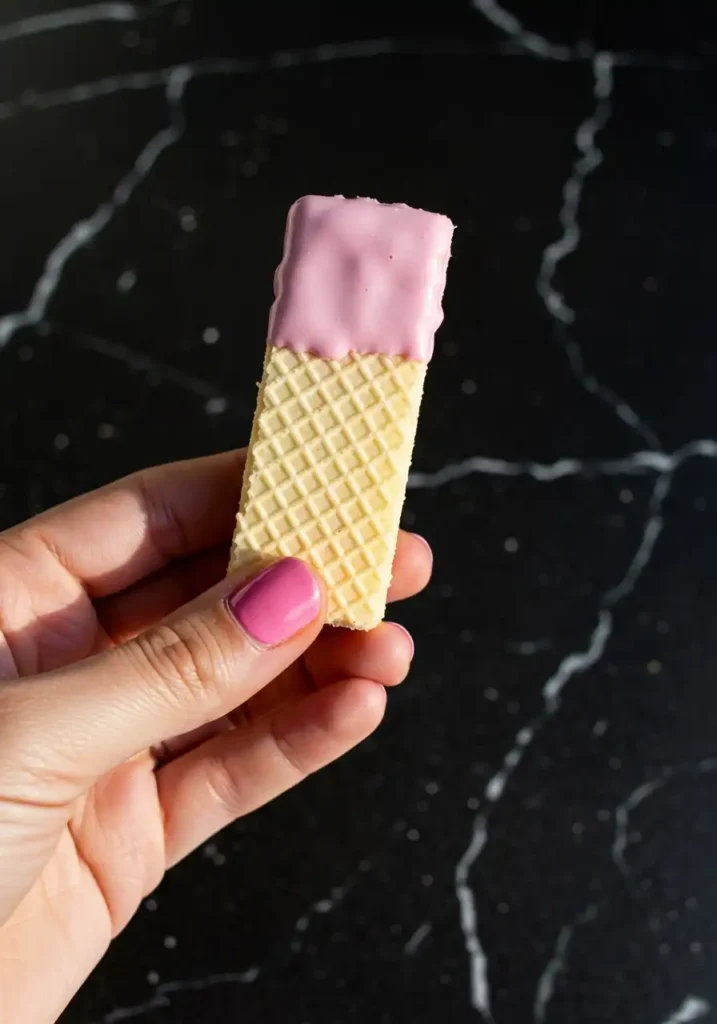
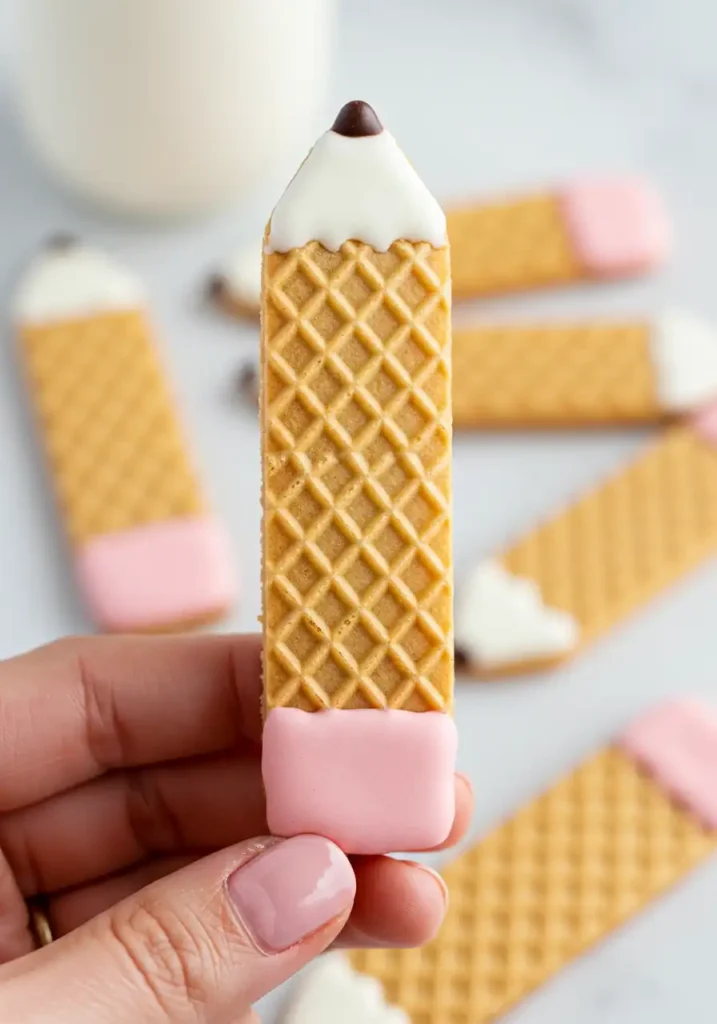
And that’s it! You’ve made fun, colorful edible pencil cookies—a perfect kids snack and back to school treat for any lunchbox or party.

FAQs – Wafer Pencil Cookies
Why are wafer cookies so good?
Wafer cookies are light, crispy, and slightly sweet. They have thin layers that melt in your mouth, and they pair well with chocolate, frosting, or candy. Kids and adults love them because they’re fun to eat and easy to use in snacks like this.
What is the texture of wafer cookies?
To make wafer pencils, cut one end of a wafer cookie into a point, dip it in yellow candy melts, add a mini chocolate chip at the tip, and stick a pink candy on the other end for the eraser. Let everything set—and you’re done!
Is a wafer considered a cookie?
Yes, a wafer is a type of cookie. It’s light, flat, and often layered with cream or filling. In recipes like wafer pencil cookies, they work as the base because they’re easy to shape and decorate.

Wafer Pencil Cookies
Ingredients
- 8 Vanilla wafer cookies Long rectangle shape
- 8 Mini chocolate chips For pencil tips
- ¼ cup Yellow candy melts For pencil body
- ¼ cup Pink candy melts Or use softened pink Starburst
- 2 tbsp White candy melts Optional for pencil center
- 2 tbsp Brown candy melts For wooden part of pencil
Instructions
- Lay out your vanilla wafer cookies on a tray.
- Use a small knife to trim one end of each cookie into a point (like a pencil tip).
- Melt the brown candy melts and dip the pointed tip to create the wood part.
- Add a mini chocolate chip to the tip for the pencil “lead.”
- Melt yellow candy melts and dip each cookie ¾ of the way to create the pencil body.
- Melt pink candy melts (or soften pink Starburst) and press it on the flat end for the eraser.
- (Optional) Add a strip of white candy melt in the center of each cookie for detail.
- Let the cookies set on parchment paper or place in the fridge for 10 minutes.